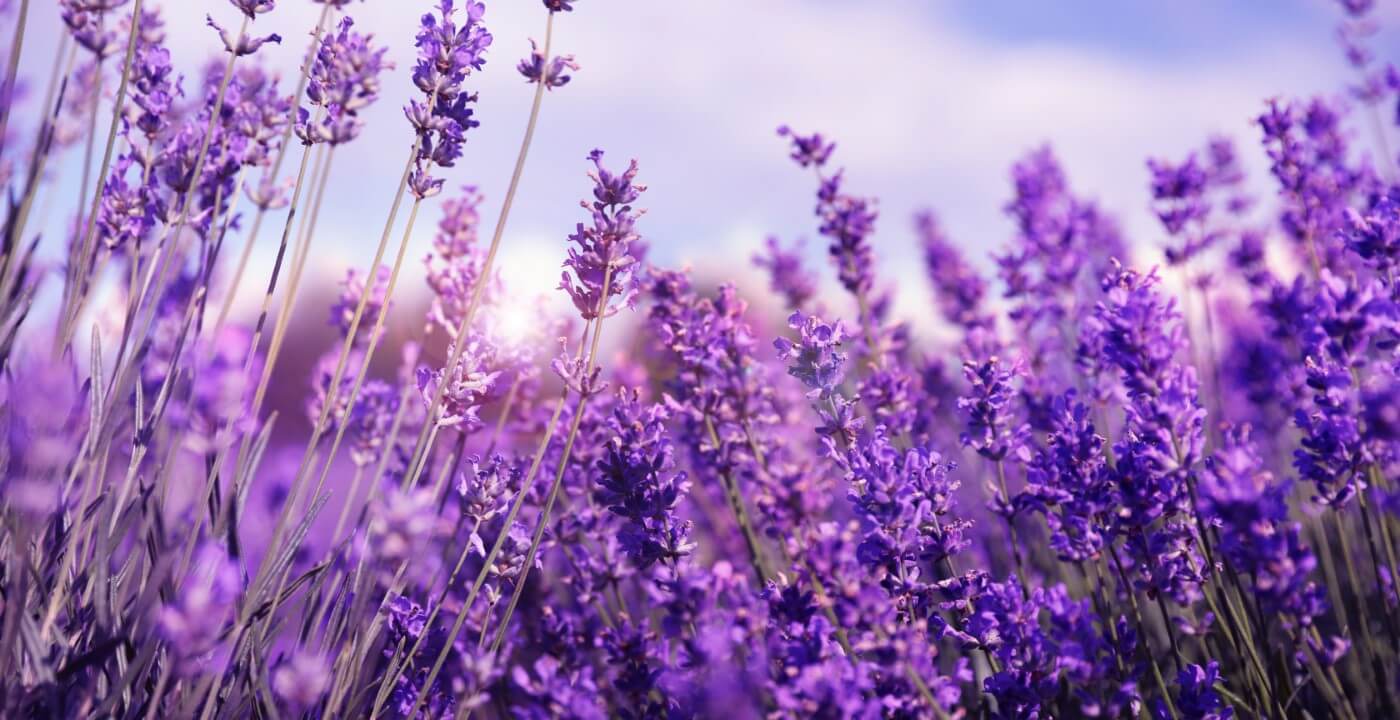
How to Harvest and Dry Lavender Like a Pro!
In this handy guide, I’ll cover everything from pruning your lavender bushes to the best methods for drying and storing these magnificent purple blooms long after the end of the harvest season. In my opinion, Lavender is, quite simply, one of the most magical plants a gardener can grow. As a powerful pollinator and ancient medicinal herb, there’s no shortage of reasons to keep a healthy supply of lavender around. Like many woody perennials, lavender enjoys a good haircut now and then to ensure vigorous regrowth. Translation? Lots of fresh lavender blooms for you to enjoy—that is, assuming you know how to preserve them. Whether you have a garden full of lavender, or you’re just trying to figure out the best way to dry some fresh lavender blooms, you luckily acquired— you’ve come to the right place. Here’s everything you need to know about drying fresh lavender.
How to Prune Lavender

Success with drying your fresh lavender blooms starts with correct pruning habits. Depending on type of lavender you’re growing, pruning times and suggestions are slightly different.
Remember that it’s always possible to cut small amounts of your lavender throughout the growing season. However, you’ll likely have more to cut (and a better-shaped plant) if you stick to pruning the entire bush once per year.
Here’s a round-up of the three main kinds of lavender, plus all the details on how and when to prune them.
Pruning English Lavender
The hardiest lavender of the three, English lavender (Lavandula angustifolia), is often found in northern gardens with cold winters. Within this variety of lavender, you’ll find common varieties like Munstead, Betty Blue, Miss Katherine, and Buena Vista, among others.
English lavender is best pruned in the fall, as these varieties can withstand the winters even after a major haircut (unlike the subsequent types on this list). Cut back one-half to two-thirds of the new growth to prune your English lavender. Remember to follow best pruning practices by cutting above leaf nodes or side branches. You’ll also want to be aware of the shape of your lavender plant when pruning it back, and you should aim to trim off the new growth while also shaping your plant into a rounded mound. This will ensure it grows into that desired round shape next season!
Pruning French Lavender
Being a more delicate lavender, you’ll want to prune French lavender (Lavandula dentata) in late summer (as opposed to mid-fall) to give the plant adequate time to adjust between pruning and the colder winter months.
Experts recommend pruning back no more than one-third of the plant’s height and being extra careful not to approach the woody bits—which can damage your lavender if cut.
Pruning Spanish Lavender
Pruning varieties of Spanish lavender (Lavandula stoechas) like Anouk and Winter Bee should also be done carefully. Follow the same guidelines as when pruning French lavender— cut it back earlier than you would English lavender and leave more of the plant intact, only taking one-third.
Methods for Drying Lavender
Once you’ve finished pruning your lavender bushes, it’s time to start the drying process. You can often dry small bundles of lavender as is, standing in a vase (without water). But when you have more than bouquet-full, you’ll want to follow one of these drying methods below.
Hanging in bundles

This is my personal favorite way to dry lavender, primarily because of how glorious hanging lavender looks and smells. It’s also an excellent option for people who don’t have adequate table space to lay things flat to dry.
To hang your lavender, you’ll need rubber bands, large paper clips (the Jumbo size works best), and a dark, dry place to hang your plants. I personally like to string a piece of thread between two nails in the darkest corner of my kitchen and hang lavender to dry there.
Choosing a place that’s both dark and dry is important because sunlight can actually damage your dried blooms, while too much humidity may cause them to mold. If you live in a naturally humid locale, consider running fans or keeping windows open near your drying station to ensure your plants receive adequate ventilation.
To dry your lavender, start by grouping it into bundles no bigger than the neck of a beer bottle. Wrap your bundles tightly with a rubber band, then hold either end of your large paperclip and pry the inner portion away from the outer portion to create a two-sided hook (it should look like an elongated distorted “S”). Attach one end of the hook to your rubber band and one to your drying rack or string. Provide adequate spacing between each bundle to allow air to circulate.
While some people like to use string to wrap drying plants, I prefer rubber bands. Fresh plant material tends to shrink when drying, and rubber bands can adapt to this change in width, while string won’t— which can result in a lot of your plant material falling to the ground.
Laid out on screens

If you have stable surface space to dry your lavender, then laying it out is another option. Like most plants, lavender dries best with plenty of ventilation, making using screens (or a perforated metal table) preferable. If you don’t have access to these things, you can also simply lay out a clean cloth on a table and routinely rotate your lavender to ensure it’s drying equally well on all sides.
Remember to choose a surface area that will allow for your lavender to dry at only one level thick (meaning stems aren’t piled on top of each other). It’s also good to note that drying lavender in this way generally takes several weeks or more, depending on how dry your climate is.
Expert tips for drying success
Ventilation is key, especially if you live in a humid climate. Be sure to open the windows or consider running a fan near (not on) your drying lavender to ensure moisture doesn’t get trapped in between the stems.
Sunlight can damage your drying herbs, both in color and smell, as well as medicinal potency (if you plan to make anything with them), so choose a dark spot to dry your lavender whenever possible.
The snap test
After a few weeks of patiently waiting for your lavender to dry, you’ll start to wonder if it’s “ready.” To tell when your lavender has dried enough to be stored away (or used to make a delicious infused oil), you’ll want to conduct what’s called the snap test. Take a stem from your drying collection and see if you can snap it. If you can’t, your lavender needs more time. If you can, test a few other stems (from different areas). When you have several that can be snapped in half like a twig, your lavender is dry enough to be put away.
Keep in mind that if you plan to use your lavender in wreath-making, you may not wish to let it get quite this dry. As you can imagine, lavender that is dry enough to snap will be hard to shape into a circular wreath mold.
How to Store Dried Lavender
There are several ways to store and use your dried lavender, which we’ll dive into here.
Paper bags

As a temporary solution (ideally six months or less), paper bags work well for storing dried herb material, lavender included. This also works well if you wish to keep your stems intact, as opposed to stripping them and just saving the flowers. We recommend labeling your bags and storing them (folded over) in a cool, dry cabinet.
Glass jars
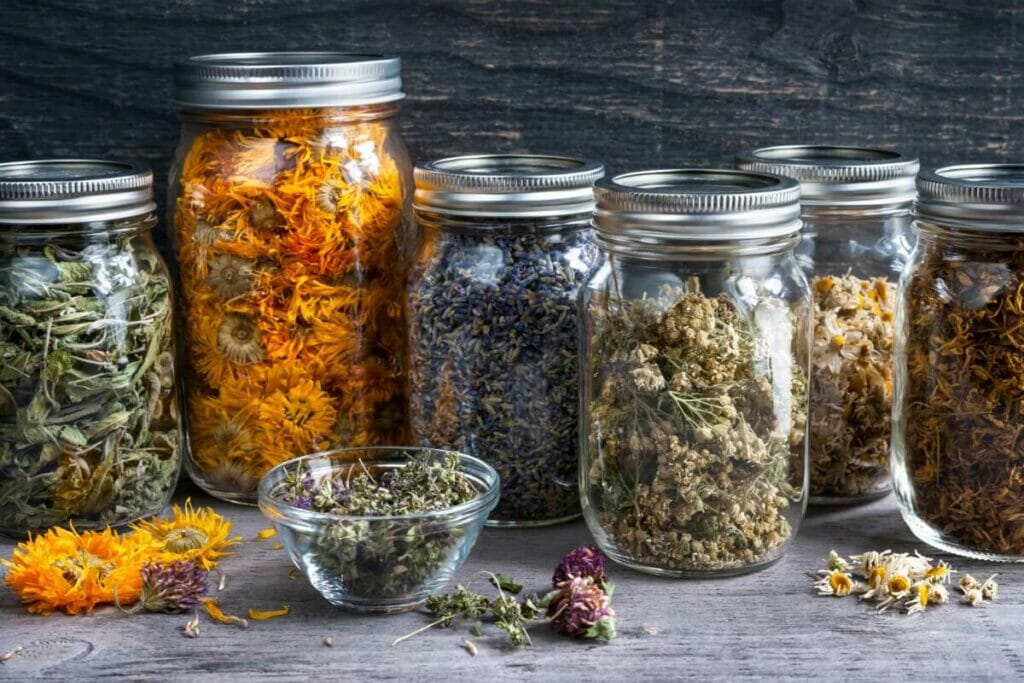
For those wanting to keep their dried lavender fresh for longer than a few months, sealed glass jars (like those used in canning) work best. Again, be sure to label your jar with details, including the kind of lavender, where you harvested it, and the date.
Bear in mind that this method works best for those who want to preserve the flowers only rather than the entire stem. To keep your lavender blossoms (sans stem), simply strip the flowers off the stem by hand. If you have sensitive skin or sinuses, you may wish to do this outside, wearing gloves, as these aromatic blooms give off quite a bit of fragrance, even after being dried!
Food-grade plastic bags
If you want to keep your entire lavender stems intact and store them for long periods of time, large food-grade plastic bags (via Amazon) work well. These will keep your blooms fresh while also allowing you to preserve the stems and flowers in one place.
Things You Can Make With Dried Lavender

Now comes the fun part. You’ve got oodles of dried lavender, but what should you do with it? Lavender blooms make great gifts, either intact as bouquets or just the flowers in cloth satchels. You can also toss these satchels into your closets to protect your clothes from pests or get crafty with your stems and incorporate them into wreaths and other dried floral arrangements.
For those wishing to dip a big toe into kitchen herbalism, you can also infuse your dried lavender blooms in oil for a fantastic skincare treat. There’s no shortage of things you can make with your dried lavender, so get creative, have fun, and be sure to share the abundance with friends and family.
Further reading: the amazing uses and benefits of lavender.

Larissa is a writer, gardener, and herbalist living in the San Juan mountains of Colorado. Her writing has been widely published in lifestyle and personal finance publications all over the country, and she's also the creator of the weekly newsletter @rootedintribe.