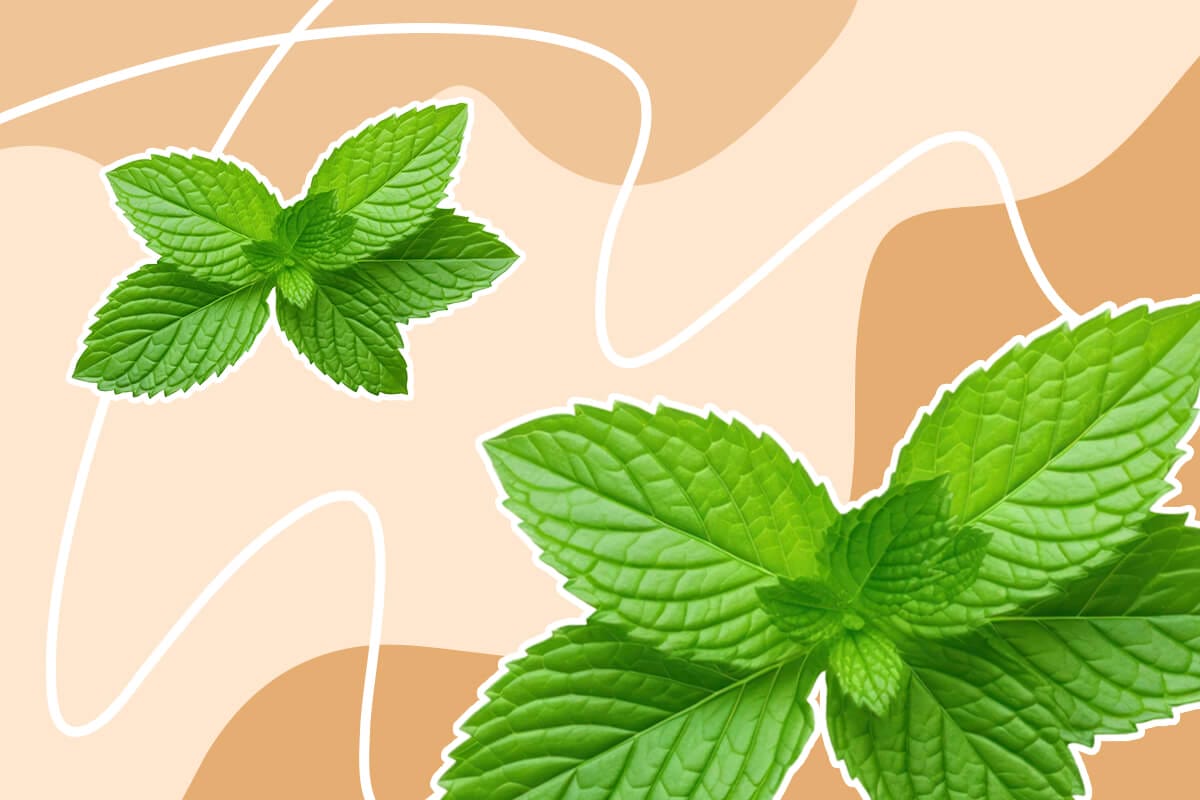
How to Grow Mint Indoors (From Seed, Cutting, or Nursery Plant)
When it comes to indoor herb gardens, mint is one of my favorites— and with good reason! This fragrant little plant not only opens doors to a whole collection of culinary delights (from savory Moroccan rice to refreshing iced teas), but it’s also incredibly easy to grow, in my experience. If adding mint to your herbal repertoire has long been on your kitchen wishlist, keep reading. Here’s everything you need to know to start your very own indoor mint jungle right here.
Getting Started

If you don’t already have a mint plant, you’ll want to get one. While it can be tempting to try and grow mint from seed, it’s actually a whole lot easier if you start with an actual plant or a small cutting. Swing by your local nursery to see which types of mint they have in stock, or ask your friend with a healthy mint plant if you can snip off a small stem.
If using a cutting, you’ll want to start by removing the leaves from the bottom few inches of the step and placing the stem in a jar of clean water. Keep in mind you don’t need a large stem for this, in fact—a smaller one (between five and six inches) is preferred, as the plant will consume less water and therefore require you to refill the jar less frequently. Root propagation of mint plants can take several weeks, so be sure you check back in and make sure your little stem has the water it needs to grow those roots!
Planting Your Mint

Once your stem starts to produce small white roots that are several inches in length, it’s ready to be planted. Since mint prefers well-draining soil, you’ll want to find a container that can provide this kind of environment. Choose a pot with a drainage hole (or several), and be sure to use a soil that also allows for your plant to drain fully between waterings.
Most indoor potting soils will work just fine, as long as you don’t pack it too tightly into your pot. Opt for something that retains lots of moisture while still allowing for proper drainage. Indoor potting soils containing (or mixed with) coconut coir, pine bark, or vermiculite are all good options. You might also consider adding a layer of coconut coir or pine bark to the bottom of your container to ensure the roots aren’t soaking in water. As far as choosing the right soil, this FoxFarm Ocean Forest Potting Soil is a great choice.
If you’re planting multiple mint cuttings, you’ll want to be sure and give them adequate space between each stem—ideally seven-plus inches. Unless you have a very large pot handy, it might make the most sense to use individual smaller pots for your mint stems.
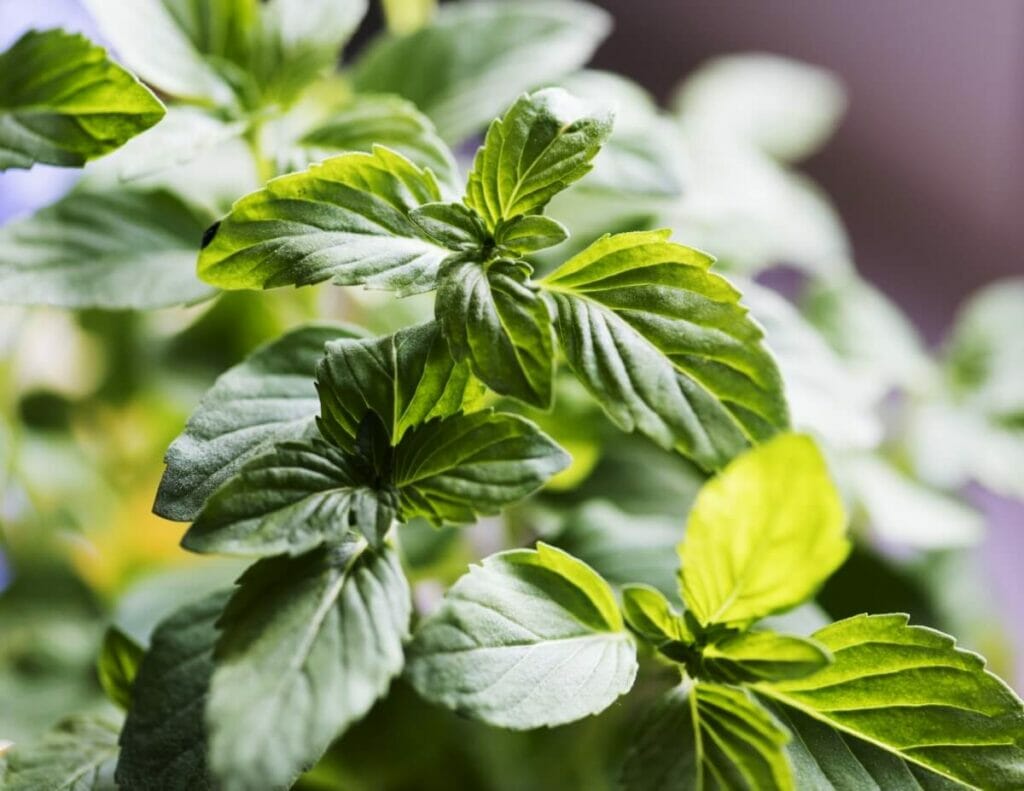
Caring for Indoor Mint
Keeping your indoor mint happy isn’t difficult, in fact— the plant is pretty forgiving even for newbie plant parents. But there are a few guidelines to follow to keep your mint looking (and tasting) its best. Here are some ground rules to help you care for your indoor mint plant.
Water

Although mint enjoys well-draining soil, that doesn’t mean you want to let it dry out completely between waterings. Unlike many other houseplants, mint requires moist (but not drenched) soil, and you’ll want to avoid letting the top layer of the soil get too dry, as this can harm the plant.
Mint plants generally need about one to two inches of water per week. Some indoor growers have found that this translates into watering your mint every three days. But the best way to know when your mint needs water is to get into the habit of frequently checking the top soil for dryness. Since your indoor environment will vary in temperature, sunlight, and humidity, it’s always best to get to know what your plants need in the growing conditions you’re providing—rather than relying on generalizations!
Fertilizer
Another thing to avoid with your mint plant? Fertilizer. Although some of your other house plants might enjoy the occasional round of extra nutrients, mint doesn’t need it. In fact, overfertilizing herbs and other culinary plants can sometimes dampen their taste and potency.
Sunlight
Besides regular waterings, you’ll also want to be sure your mint plant is getting adequate light. Indirect sun or partial shade is best for mint plants, ideally in temperatures between 55 and 70 degrees. As with any houseplant, you’ll want to avoid exposing your mint plant to any unnecessary cold drafts, which can trigger stress responses.
As you may have noticed, house plants tend to grow more evenly when periodically rotated. That’s because plants will typically grow towards the sunlight. While we don’t always have the option to keep outdoor plants growing quite as evenly, by nature of being in movable pots we can periodically turn our indoor plants to allow them to grow more fully in all directions, and keep them from looking too lopsided.
Pruning
Regular pruning is another essential part of keeping your indoor mint healthy and happy. This can be as simple as strategically plucking off stems for your next culinary adventure or may involve getting your snips out to trim off any woody bits growing towards the base of the plant.
To prune your mint plant, trim the tops of stems that contain lower lateral offshoots. This will allow the plant to redistribute energy towards these laterally-growing stems and also give it a fuller appearance.
Similarly, you’ll want to pinch off blooms whenever you see them. Allowing your mint plant to bloom can lead to less flavorful and less abundance of leaves. By trimming them, you’re telling the mint plant to focus on new leaf growth rather than buds.
Humidity
Like most indoor plants, mint enjoys a bit of humidity. If you live in a naturally wet environment, you probably don’t need to do anything. But if you live in a dry climate, you might consider running a humidifier or spraying your mint plants every now and then to ensure they aren’t getting too dry.
Getting the Most out of Your Indoor Mint Plant
Mint is a highly rewarding plant to have around, especially if you enjoy experimenting with new flavors in the kitchen. Here are a few tips on how to get the most out of your carefully cultivated indoor mint.
Harvesting
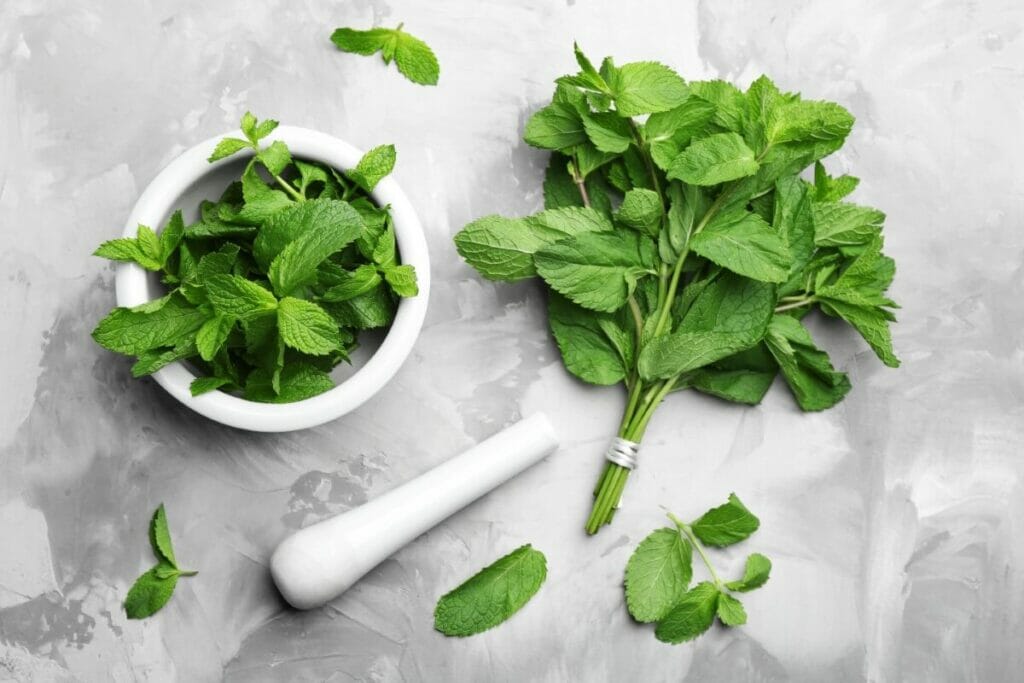
Harvesting mint is easy, and can be done several times throughout the growing season. For most of your mint needs, you’ll be able to simply pinch off a few leaves every now and then. If you’re working with a recipe that requires even more mint, you might want to trim off several stems. For this, try to focus on cutting the tops of vertical stems rather than lateral ones, as this encourages fuller growth in the lower branches of your plant.
Another trick is to time your mint harvests with blooming events. Once you start to see small blooms forming, you can trim your entire plant back by about 2/3— leaving that last third to grow and propagate. Since blooming will significantly reduce the taste and leaf production of your plant, it’s always good to give it a major haircut at the first sign of blooms.
Storing mint
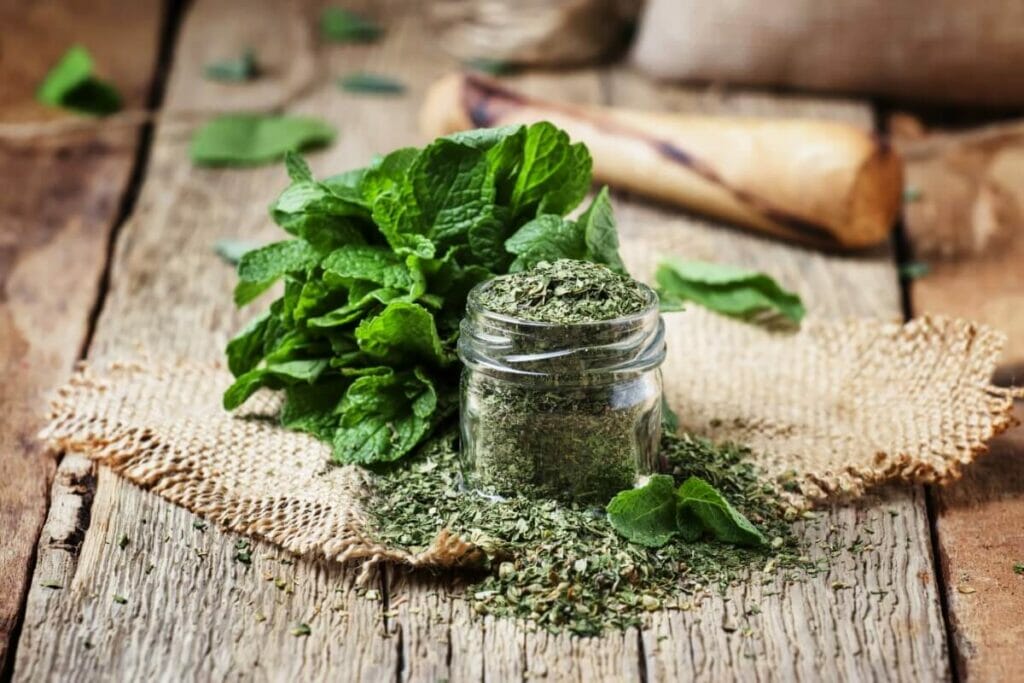
Because of how easy it is to grow, many people find themselves with an abundance of mint. If you end up with more mint than you know what to do with—worry not! Continue pruning and harvesting your mint as you normally would, and dry any extra stems for later use.
One of the best ways to dry mint is to bundle it in groups of 5-6 stems (or a bundle no larger than the mouth of a beer bottle), tie it with a rubber band, and hang the bundle from a hook or bent paperclip in a dark, dry corner of your home. Have multiple bundles to dry? String up some thread and hang your mint several inches apart to allow each bundle to fully dry.
Herbs dry best when kept out of sunlight, and you’ll know when they’re fully dry (and ready to adorn your shelves in cute labeled jars) by performing what’s called the “snap test.” If your leaves or stems snap or crinkle when you touch them, they should be dry enough to remove from their strings and store elsewhere—ideally in a labeled brown paper bag or glass jar.
Bottom line
Mint is a highly rewarding culinary herb to have growing in your home, and it’s also a great houseplant that requires little work to maintain. Whether you’re a new plant parent or a green-thumbed expert, you’ll enjoy having a bit of this delicious plant growing nearby—especially once you start using it in all your favorite recipes and cocktails.

Larissa is a writer, gardener, and herbalist living in the San Juan mountains of Colorado. Her writing has been widely published in lifestyle and personal finance publications all over the country, and she's also the creator of the weekly newsletter @rootedintribe.