How to Grow and Care for Croton Plants at Home
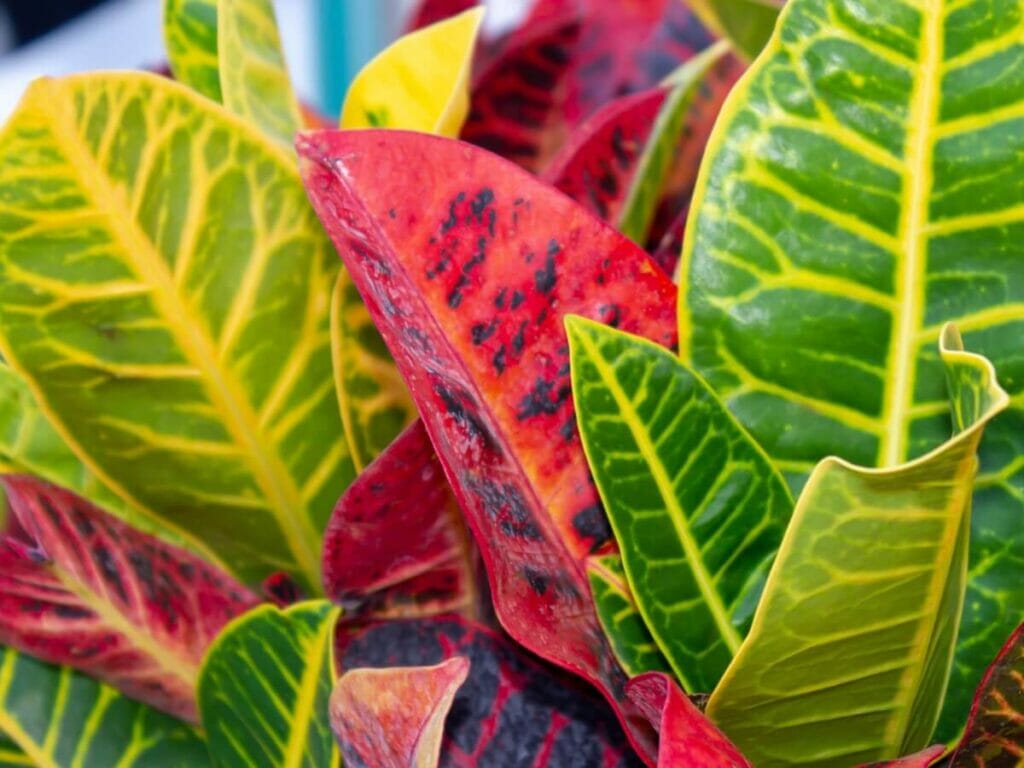
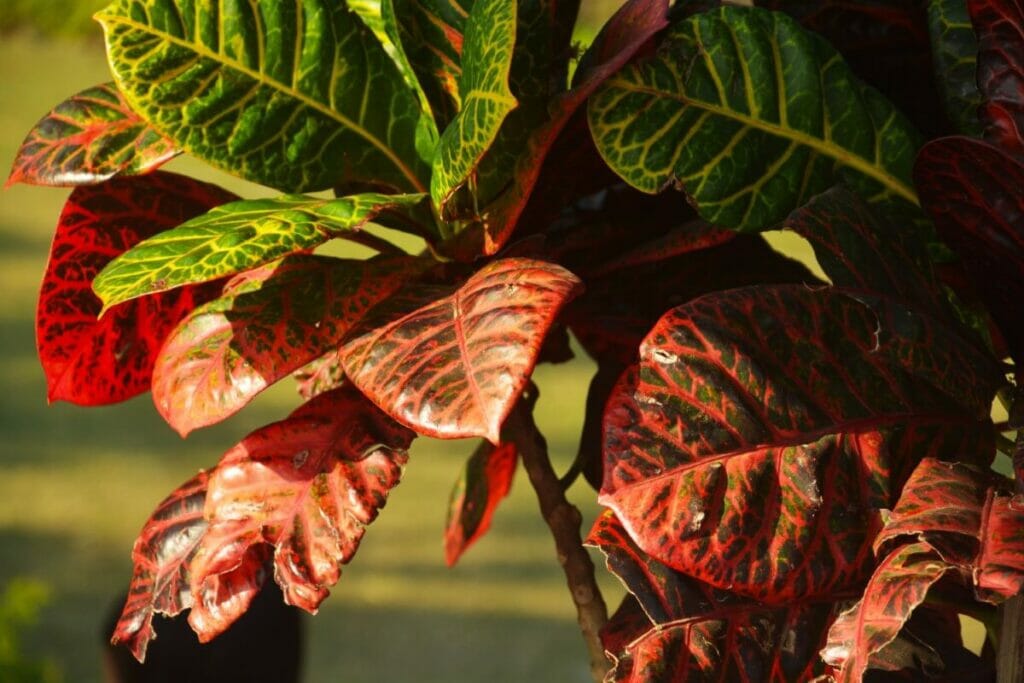
Crotons or Rushfoil (Croton variegatum) are a group of plants with thick, waxy leaves and bright foliage. With colors and patterns of all types, it’s no wonder they’re some of the most popular houseplants. While crotons sometimes have a reputation for being difficult plants, they are easy to care for as long as you provide the proper environment. Once you learn how to care for one croton, you’ll be able to add more of these stunning plants to your home confidently. In this guide, you’ll find my essential Croton plant care tips including potting, planting, light, soil, fertilizing, pruning, and propagation. Let’s go!
Croton Plant Care Basics:
| Botanical Name: | Croton variegatum |
| Also Known As: | Rushfoil, Croton. |
| Care Difficulty: | Easy to moderate difficulty. |
| Light Requirements: | Six to ten hours of bright yet indirect light. |
| Temp & Humidity: | Prefers air temperatures between 60-85ºF with moderate to high humidity. |
| Watering: | Water thoroughly when the top one to two inches of soil is dry, about every week in the summer. |
| Soil: | Well-draining, slightly acidic. |
| Feeding: | Feed monthly with a balanced houseplant fertilizer from spring until early fall. |
| Growth Expectations: | Most croton plants are relatively slow growers reaching two to four feet indoors. |
| Toxicity: | Toxic to animals and humans, contact with the foliage can cause a minor rash. |
How to Grow Croton Plants at Home
While crotons may require a bit of adjustment period, they are generally easy to grow at home. The most important factor is providing the right environment.
Growth Expectations
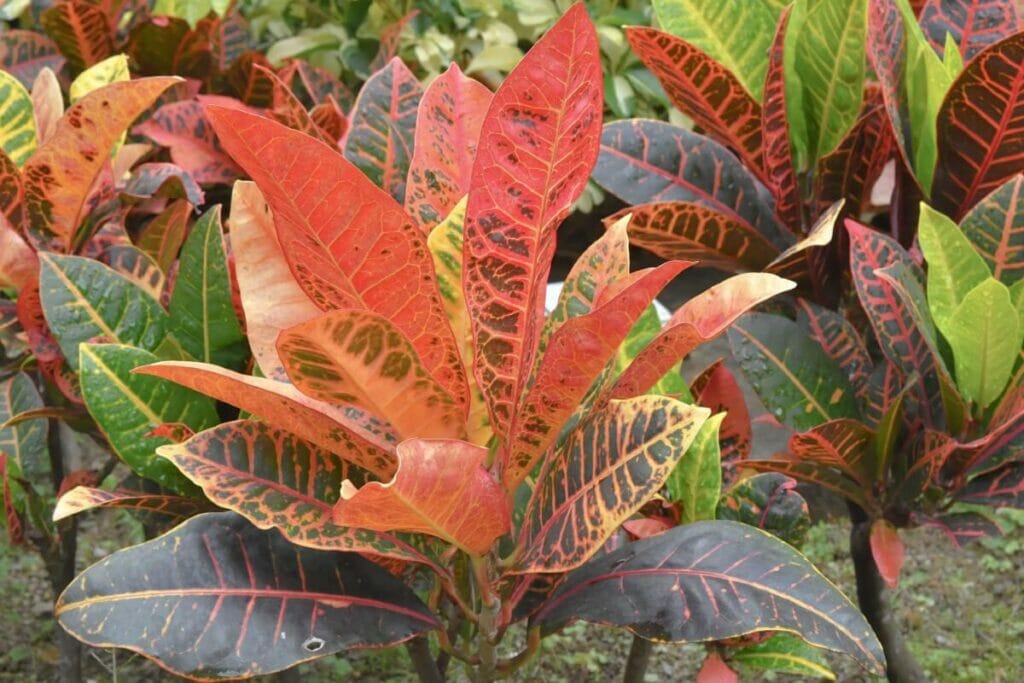
Crotons stay much smaller indoors than they do outdoors. Indoor crotons are slow-growing and typically max out at two to five feet tall.
What to Do Before Planting
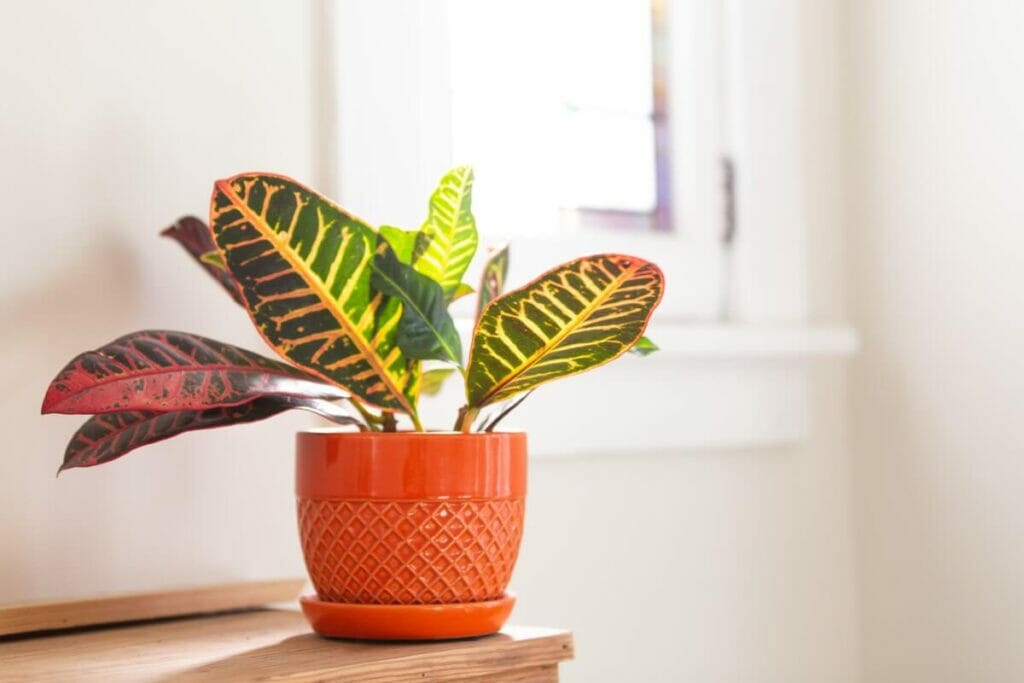
Before you add a Croton plant to your home, take a look around to find the best place for it. Crotons don’t like to be moved, so try to find a great location right off the bat.
One of the most important aspects of a suitable location is bright yet indirect sun.
You should also make sure your croton has room to grow. While these plants grow slowly, you should place them in an area where they have a few feet to expand upwards.
Since these plants can cause minor skin irritations when touched, it’s best to keep them out of reach of small children. A tall plant stand or table does the trick.
What’s the Best Soil Mix for Crotons?
Crotons need well-drained soil. They aren’t too fussy about pH, but they prefer slightly acidic soil.
A peat-based potting mix (via Amazon) labeled for houseplants is an acceptable choice.
If you’d like to make your own potting mix, combine the following:
- 3 parts peat moss or coco coir
- 1 part perlite
- 1 part pine bark fines
How to Plant
Before you plant your croton, you’ll need to find an appropriate container. Ensure it has drainage holes and is just a few inches larger than the plant’s rootball.
When you bring your Croton home, don’t panic if it looks unhealthy and you lose some leaves. If you provide the proper environment, the plant will recover within a few months.
Light Preferences
Crotons need lots of bright yet indirect light. Aim for six to ten hours of light each day.
While these plants like light, they cannot handle direct sun.
A great place for a croton is a few feet away from a south-facing window. Place sheer curtains over the window if you notice that direct sun is hitting your plant.
Another suitable location is in the middle of a brightly lit room.
Temperature & Humidity Preferences
Since these are tropical plants, they prefer temperatures between 60-85ºF. If temperatures fall below 50ºF, the plants may lose leaves.
As well as providing a warm area, you should also maintain a consistent temperature. Therefore, avoid placing your croton near drafts from exterior doors and AC vents.
Croton plants prefer high humidity, but they can tolerate moderate humidity. If your house is dry, use a humidifier or place your planter on a dish of pebbles covered in water.
How to Care for a Croton at Home
Watering
Croton plants are not drought tolerant, yet they don’t do well in constantly moist soils.
The best way to water your Croton plant is to allow the soil to dry out slightly between waterings. Use your finger to feel the soil near the base of your plant. When the top one to two inches of soil is dry, it’s time to water.
There is some seasonal variation in how often you’ll need to water. Plants require more water in the summer than they do in the winter.
As with all plants, you’ll need to water more often when high temperatures and humidity are low.
Fertilizing
Croton plants will grow best with regular fertilization.
Use a balanced houseplant fertilizer to feed your croton plants once every month spring through early fall. You do not need to fertilize your croton in the winter.
Pruning
Croton plants don’t require pruning, but you can opt to prune to keep the plants looking tidy.
Use a pair of pruning shears to remove any dead or discolored leaves.
You can also clip the end of shoots for a fuller look.
Propagation

The easiest way to propagate crotons is via stem cuttings. By using this method, you can create plants that resemble the original plant.
To propagate a croton via a stem cutting, follow these steps.
- Find a stem that is about pencil-width thick and has leaves at the end.
- Use a sharp and sanitized pair of pruning shears, cut the stem six to ten inches from the stem’s tip.
- Cut the leaves off the stem. The remaining cutting should be four to six inches long.
- Dip the bottom of the cutting in rooting hormone.
- Place the bottom one to two inches of the cutting in a container of potting mix.
- Water well and cover the container with a plastic bag. This will help seal in humidity.
- After about a month, the cutting should start to develop new roots and leaves. At this point, you can remove the pot from the bag.
- At this point, care for the cutting like you would a fully developed plant.
Repotting

Since croton plants grow slowly, you don’t need to repot them very often. Expect to repot when they outgrow their current container, about every three years.
When you repot a croton plant, choose a container that is only an inch or two larger in diameter than the old pot.
Remove the rootball, shake off excess soil, and inspect the roots for any signs of disease. If everything looks good, it’s ready for the new pot.
Fill the new container a quarter of the way full with potting soil and place the plant inside. Fill the rest of the container with potting mix and water well.
Common Problems & How to Treat Them
Dropping Leaves
While it’s normal for crotons to lose a leaf now and then, it’s a problem when your plant is dropping lots of leaves.
The most common cause of dropping leaves is stress and shock. This often occurs when you move your plant from one area to another. Therefore, avoid moving your plant when possible.
Cold temperatures also cause stress. Croton plant temperature tolerances typically range between 60-85ºF.
If the air temperature drops below 50ºF, a croton will likely lose leaves. If this happens, move it to a warm location and allow it to recover.
Dull Leaves
One of the most common issues and complaints about crotons is leaves with dull colors. It’s always a disappointment when these plants lack the vibrancy they’re known for.
Fortunately, this is an easy fix.
The number one reason for dull leaves is a lack of light. Move your plant to an area where it receives at least six hours of bright, indirect sun each day. Wait a few months and see if the color improves.
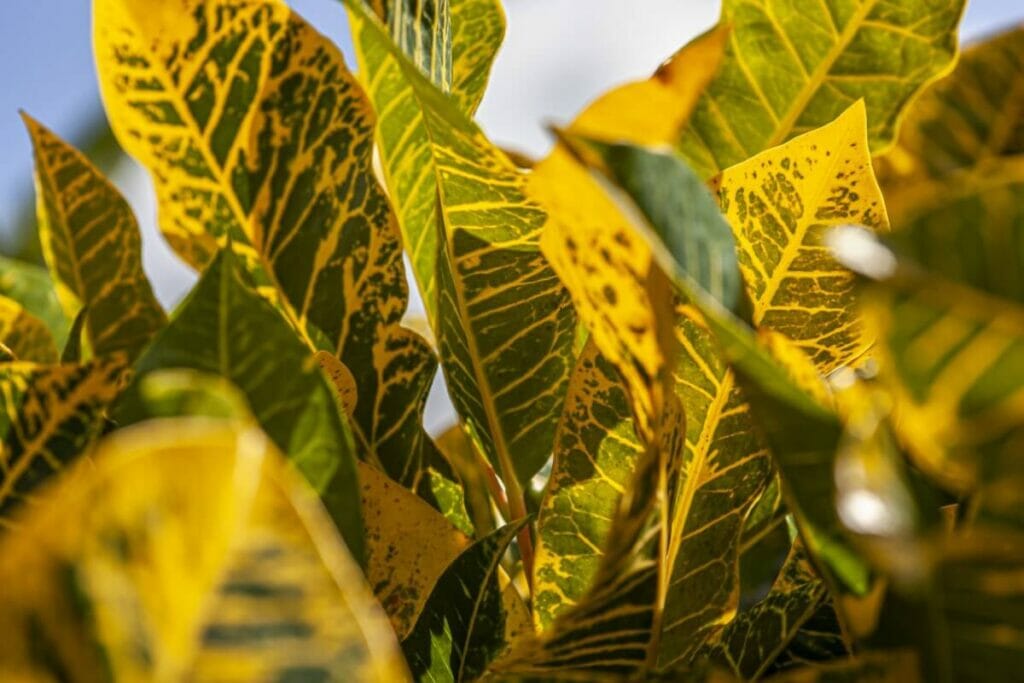
Yellow Leaves
While some types of crotons have yellow leaves, dull yellow leaves on crotons are not a good sign. If you notice all of the plant’s leaves have a yellow hue, check for these problems.
Overwatering is a common cause of yellow leaves. Make sure you water only when the top two inches of soil are dry. Additionally, ensure the container has drainage holes that allow excess water to escape.
Low humidity can also cause yellow leaves. If the air is dry, use a humidifier or set a dish of water near your plant.
A lack of nutrients can also lead to yellow leaves. Fertilize regularly with a balanced houseplant fertilizer.
Spider Mites
Spider mites are tiny arachnids that suck plant sap. They cause stippled on plants and spin thin spider-like webs.
Spider mites populations can quickly expand, so it’s important to treat them as quickly as possible. You can remove a few spider mites with a wet rag. If you’re dealing with large infestations, spray them with insecticidal soap or neem oil.
Spider mites are more likely to occur in dry conditions. Keep the humidity high to prevent these pests.
Wrap Up
Now that you know how to care for crotons, it’s time to add one (or more) to your home! As long as you provide the proper environment and care, these plants will remain vibrant and bright.
Further reading: Discover the best types of croton plants to grow at home.

Briana holds a B.S. in Plant Sciences from Penn State University. She manages a small market garden where she grows vegetables and herbs. She also enjoys growing flowers and houseplants at home.